Come rifinire componenti di strumenti medici senza graffi, residui o bordi arrotondati
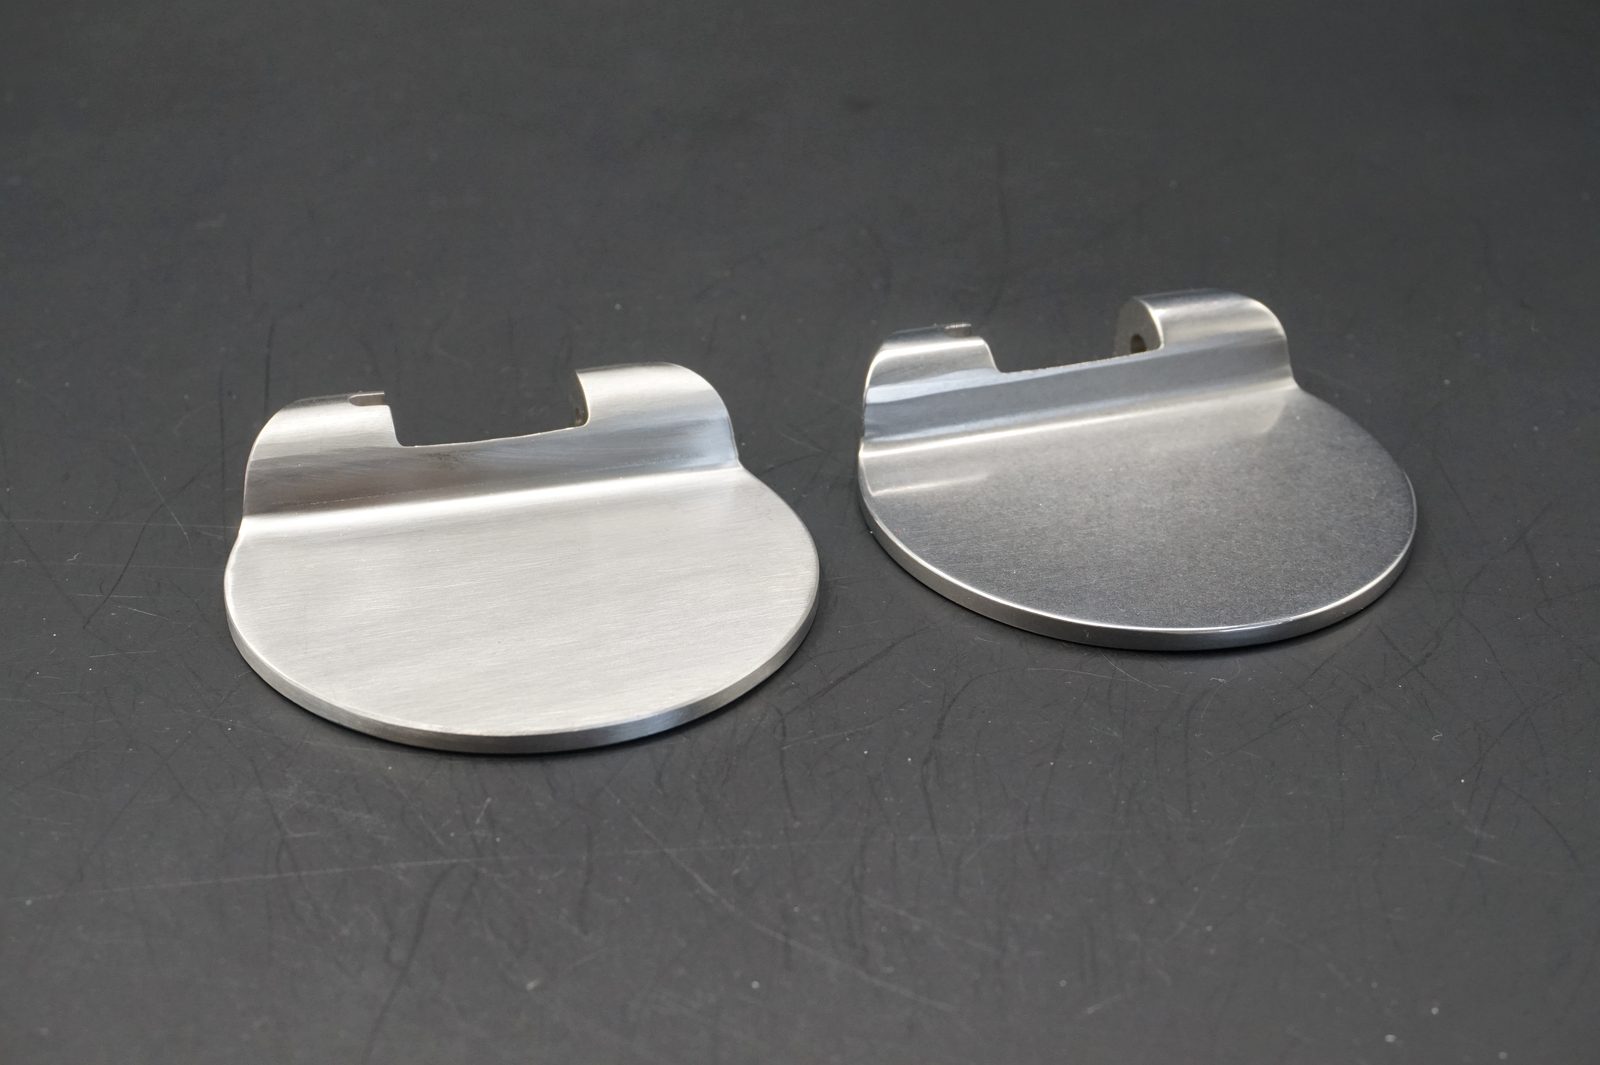
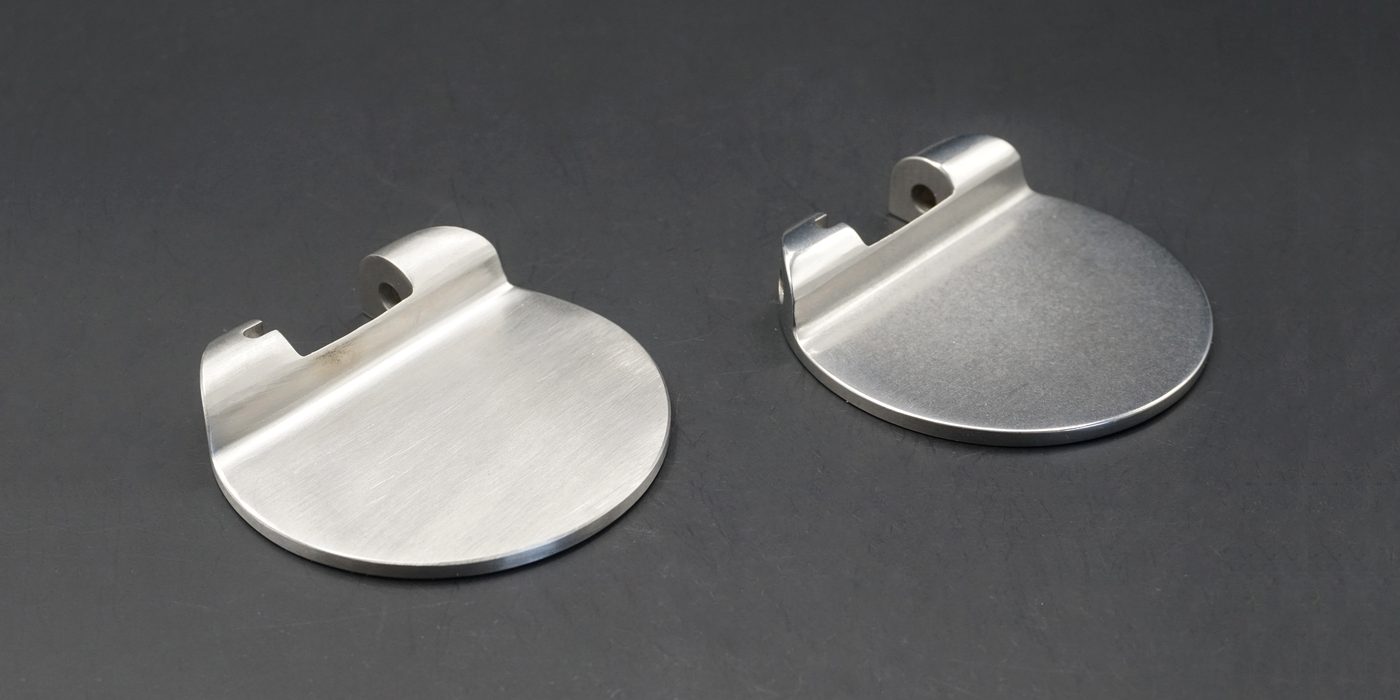
Le parti di strumenti medici e i componenti metallici di precisione hanno spesso severi requisiti di finitura superficiale. Il pezzo deve essere pulito, liscio e uniforme, ma i bordi critici, i fori, le aree delle cerniere e le superfici di contatto non possono essere eccessivamente arrotondati o danneggiati. Un processo di finitura che funziona per la ferramenta generale può creare graffi, residui, texture irregolare o un’eccessiva perdita di materiale sui bordi di questi componenti.
Questo articolo spiega come diagnosticare i comuni difetti di finitura sui componenti di strumenti medici e come costruire un processo più controllato di sbavatura, lisciatura e lucidatura per componenti di precisione.
Perché i componenti di strumenti medici si danneggiano facilmente durante la finitura
Molti componenti di strumenti medici sono realizzati in acciaio inossidabile o altre leghe resistenti alla corrosione. Questi materiali possono essere resistenti, ma la geometria del pezzo è spesso sottile, curva o lavorata con precisione. Piccole variazioni su bordi o superfici possono influenzare l’assemblaggio, l’aspetto o i risultati di ispezione.
La sfida principale è l’equilibrio. Il processo deve rimuovere le bave, levigare i segni di lavorazione e migliorare la superficie senza creare nuovi difetti. Se il media è troppo aggressivo, i bordi si arrotondano. Se il processo è troppo delicato, rimangono bave e segni degli utensili.
Diagnosticare il difetto prima di modificare il processo
Non considerare ogni problema superficiale come un problema di lucidatura. Graffi, superfici opache, residui e bordi arrotondati derivano da cause diverse. La tabella seguente aiuta a distinguere il problema prima di scegliere il media o modificare il tempo di ciclo.
| Difetto | Probabile causa | Cosa controllare | Regolazione consigliata |
|---|---|---|---|
| Graffi fini rimangono dopo la finitura | Media troppo grossolano o segni di lavorazione precedenti troppo profondi | Rugosità iniziale, granulometria del media, sequenza di processo | Aggiungere una fase di lisciatura controllata prima della lucidatura finale |
| I bordi sono eccessivamente arrotondati | Tempo di ciclo troppo lungo o azione di taglio troppo forte | Raggio del bordo, tipo di media, tempo di lavorazione | Ridurre il tempo di taglio e testare media più delicati |
| Residui o film grigio persistono | Acqua sporca, compound errato, particelle metalliche | Limpidezza dell’acqua, concentrazione del compound, pulizia del media | Migliorare il risciacquo e usare un compound di finitura adeguato |
| Fori o aree delle cerniere presentano ancora bave | Il media non raggiunge le caratteristiche critiche | Dimensione dei fori, larghezza delle scanalature, forma del media | Testare forma e dimensione del media rispetto alla geometria reale |
| La superficie varia da un pezzo all’altro | Il carico del lotto è troppo alto o i pezzi si schermano a vicenda | Rapporto pezzi-media, disposizione, densità di carico | Ridurre il carico e migliorare il supporto del media attorno ai pezzi |
Scegliere il media per la caratteristica critica
La selezione del media dovrebbe iniziare dall’area più sensibile del pezzo. Per i componenti di strumenti medici, può trattarsi di un bordo sottile, una sede di cerniera, una superficie di contatto, un foro o una faccia curva. Se il media non raggiunge quell’area, le bave rimangono. Se il media è troppo aggressivo, la caratteristica può perdere definizione.
media ceramici può essere utile per un taglio e una lisciatura controllati, ma deve essere selezionato con attenzione per componenti di precisione. Per superfici più delicate, media plastici o una fase di finitura più fine può ridurre i segni d’impatto e il sovra-taglio.
Controllare il carico del lotto per prevenire segni tra pezzi
Graffi e ammaccature spesso derivano dal contatto tra pezzi, non solo dal media. Se i componenti sono sottili, curvi o hanno superfici visibili lucidate, un lotto troppo affollato può causare più rilavorazioni di quante ne eviti.
A vibratory finishing machine può lavorare molti componenti di precisione in modo efficiente, ma il rapporto di carico deve essere testato. Deve esserci abbastanza media per separare e supportare i pezzi durante il movimento. Per componenti più lunghi o fragili, una tub vibrator o un metodo di carico speciale può fornire un controllo migliore.
Usare il compound e il risciacquo per evitare residui
I residui sono un problema serio per i componenti di precisione perché possono nascondersi in fori, scanalature o aree delle cerniere. Compound di finitura aiutano a sospendere le particelle metalliche, migliorare la pulizia, controllare la schiuma e ridurre le macchie.
Se i pezzi sembrano accettabili da bagnati ma mostrano una pellicola dopo l’asciugatura, verificare la qualità del risciacquo, la pulizia dell’acqua, la concentrazione del compound e la velocità di asciugatura. Per componenti ad alta estetica, la fase di pulizia e asciugatura dovrebbe essere considerata parte del processo di finitura, non un elemento secondario.
Quando un processo a due fasi è più sicuro
I componenti di precisione spesso richiedono più di una fase. Una fase aggressiva può rimuovere rapidamente le bave, ma può anche arrotondare i bordi o lasciare una superficie opaca. Un processo a più fasi offre un controllo migliore.
- Fase 1: sbavatura leggera o lisciatura per rimuovere spigoli vivi e segni di lavorazione.
- Fase 2: finitura più fine o lucidatura per migliorare la texture e l’aspetto.
- Pulizia finale: risciacquare e asciugare rapidamente i pezzi per prevenire residui, macchie d’acqua o contaminazione intrappolata.
- Ispezione: controllare fori, fessure, bordi e superfici di contatto sotto un’illuminazione costante.
Errori comuni da evitare
- utilizzare mezzi abrasivi troppo aggressivi per risolvere ogni problema di bave.
- prolungare il tempo di ciclo fino a quando i bordi di precisione diventano arrotondati.
- ignorare il contatto tra pezzi in lotti affollati.
- scegliere i media senza controllare fori, aree di cerniera e fessure.
- saltare il controllo di risciacquo e asciugatura dopo la finitura a umido.
- giudicare solo la superficie visibile trascurando i residui nelle aree nascoste.
Soluzioni correlate
Se stai sviluppando un processo di finitura stabile per parti di strumenti medicali o altri componenti di precisione, queste pagine possono aiutarti a confrontare macchine, media e composti adatti:
Hai bisogno di un processo di finitura controllato per parti di precisione?
Inviaci il materiale del tuo pezzo, foto, disegno, posizioni delle bave, bordi critici, requisiti di superficie e quantità del lotto. JINTAIJIN può aiutarti a valutare se il tuo processo necessita di media diversi, un percorso di finitura a più fasi, una pulizia migliorata o una configurazione macchina più controllata.
Contatta il nostro team di finitura per supporto nella finitura di parti di precisione
 +86-592-2381506


 Rete IPv6 supportata